Updated 11 November 2026 · Ecoware Export Team
Food festivals, markets and company events create a lot of single-use waste in a few hours. Most of it comes from the same three places: the plates and cutlery, the bins, and the printed materials that get thrown away afterwards. Zero-waste event planning does not mean producing no waste at all. It means deciding before the event where every item will end up, so almost nothing goes to landfill. Here’s how to plan each of the three, plus how much to order and what to tell guests.
1. Choose tableware that can go in the same bin as food
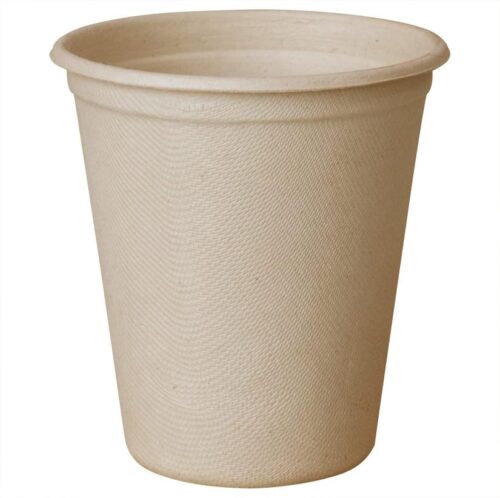
When plates, cutlery and food scraps can all go in one bin together, guests don’t have to sort anything at the bin. That only works if the place that takes the bin accepts every item in it, so start with your waste collector, not with a product list.
- Ask the collector first. Find out which items they accept in the food-waste stream, item by item, and get the answer in writing. Rules on what counts as compostable vary by area, and the difference between home and industrial composting matters here. We explain it in home compostable vs industrial compostable cutlery.
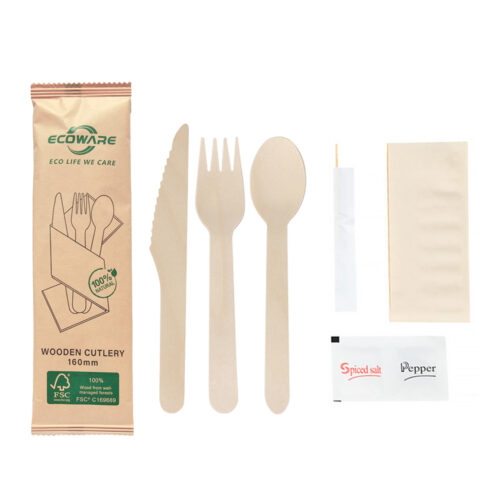
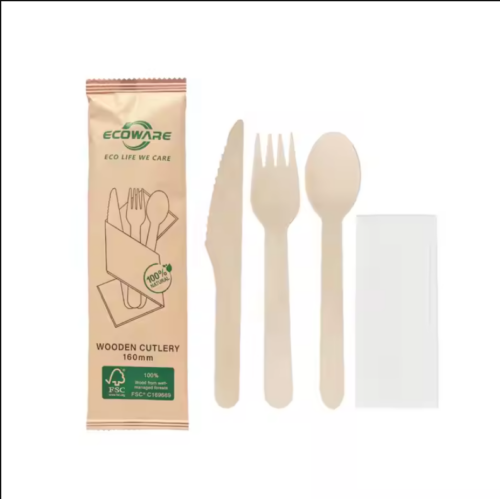
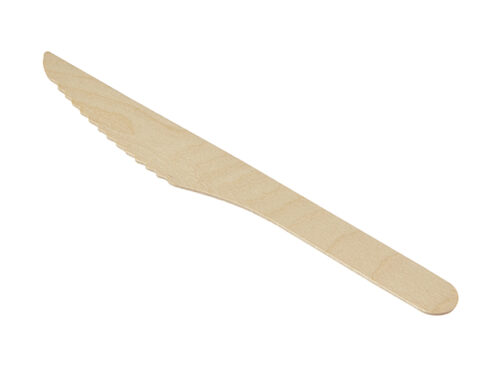
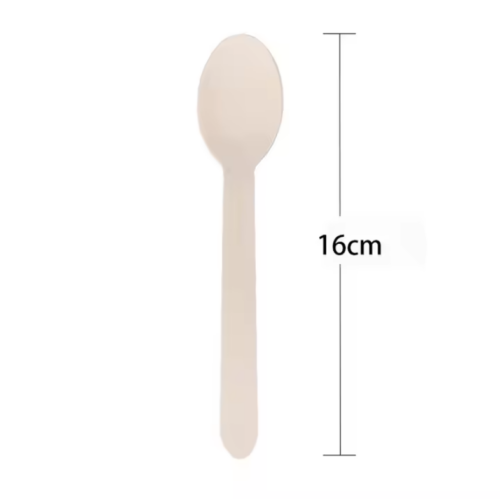
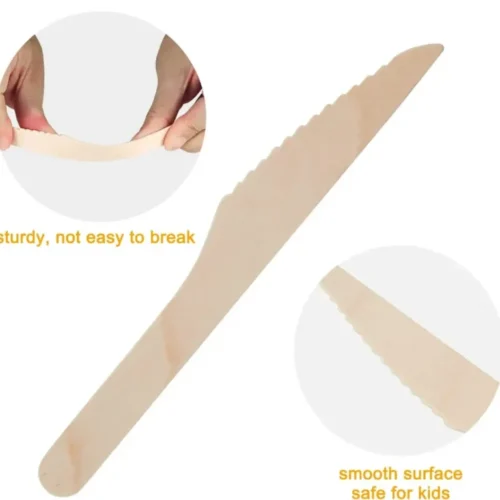
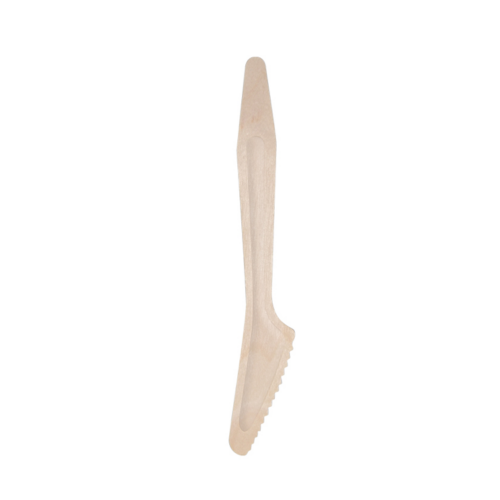
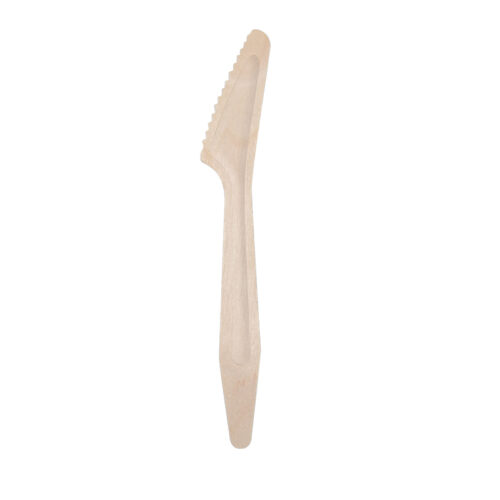
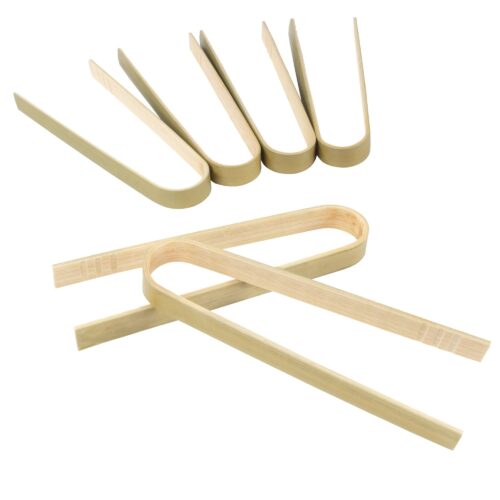
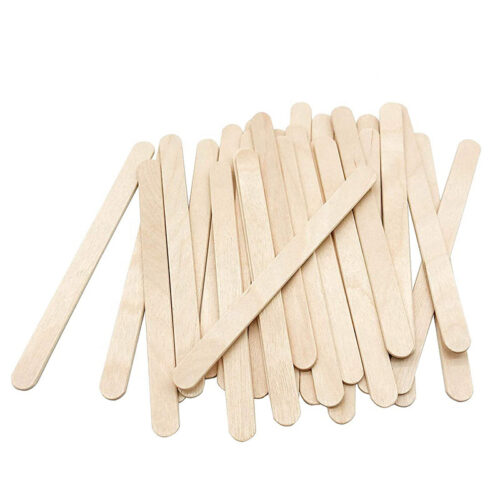
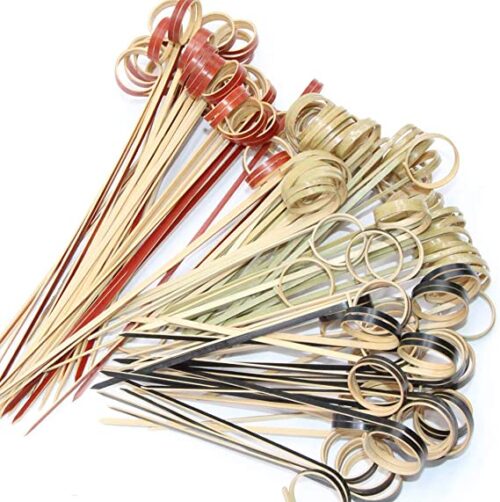
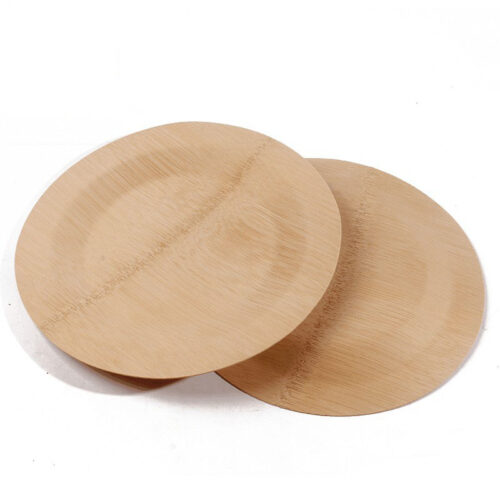
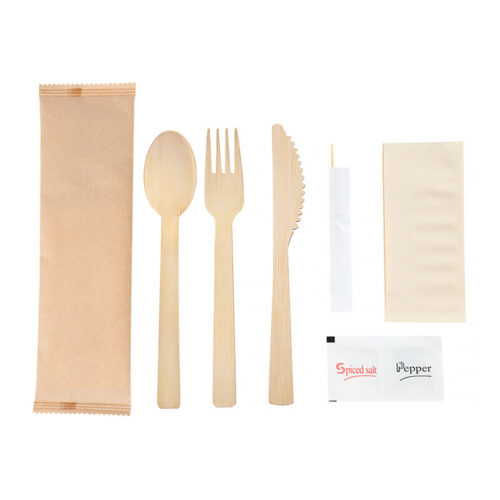
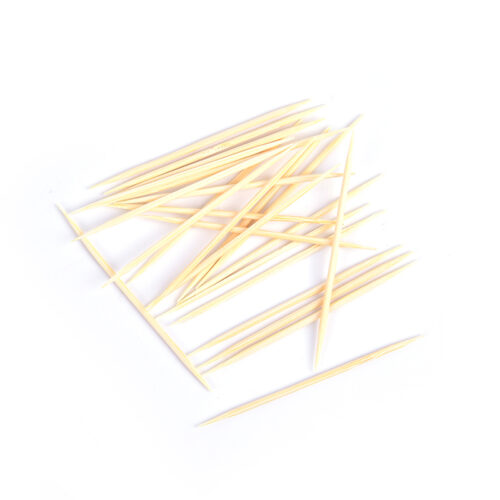
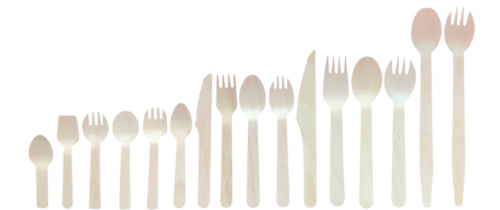
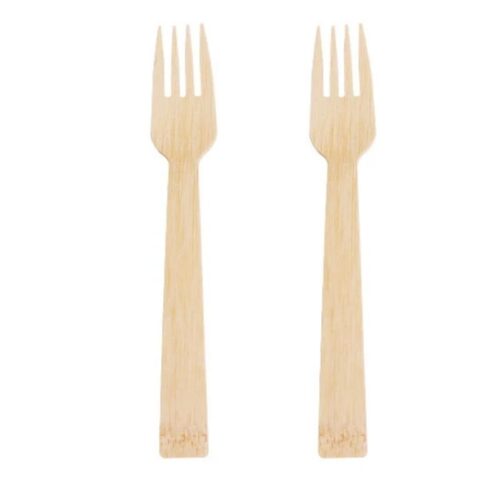
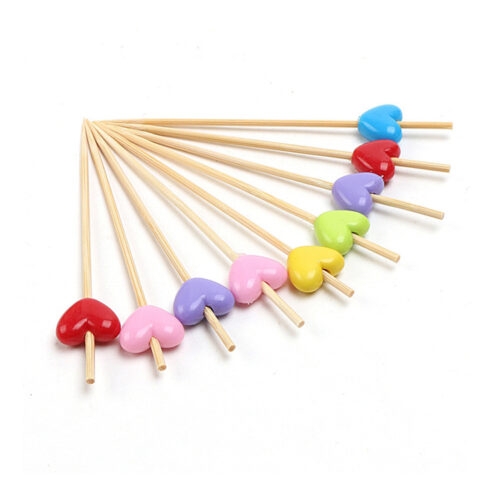
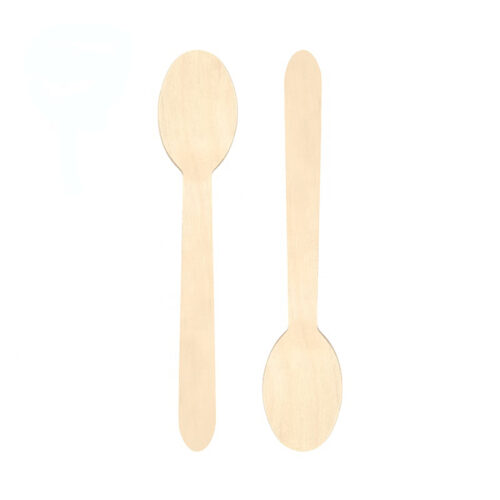
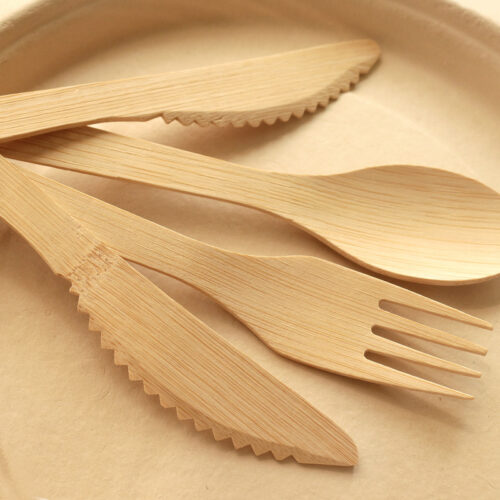
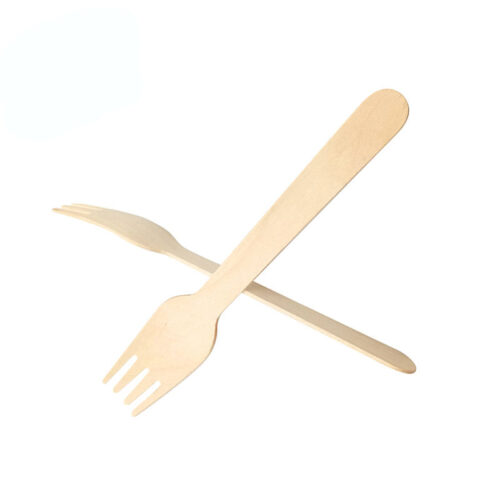
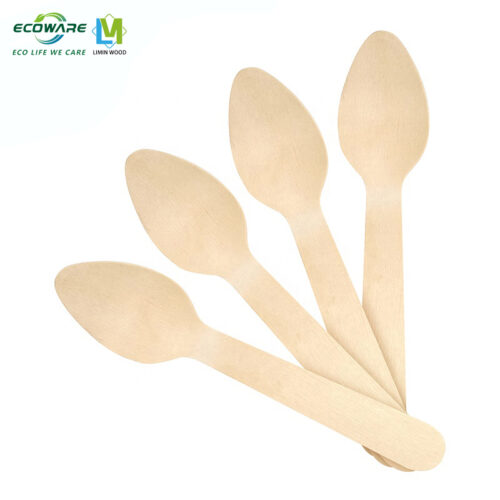
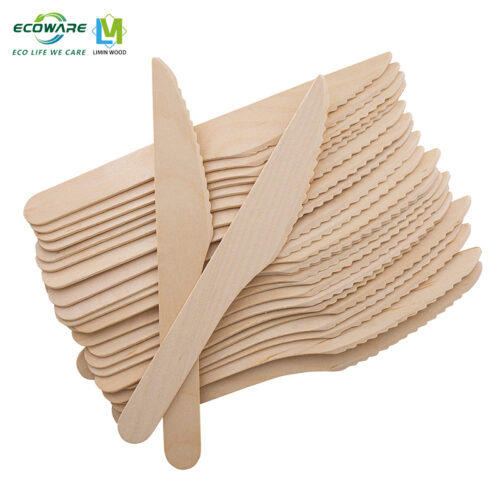
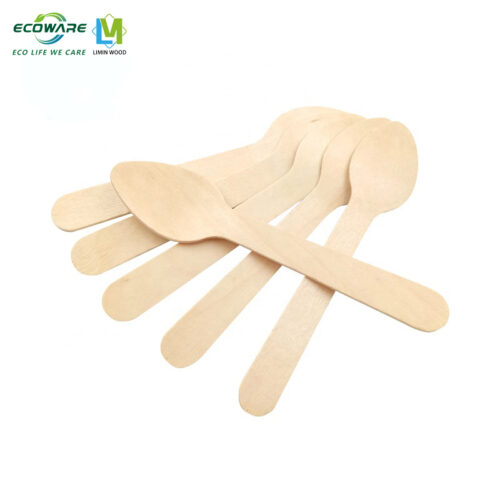
- Pick materials that suit the food. Wooden cutlery, wooden plates and bamboo skewers work well for hot and greasy food. They don’t soften in hot sauce or melt next to a grill.
- Put it in the vendor agreement. One stall handing out plastic forks breaks the whole stream. Send every food vendor the list of accepted items before the event and make it part of their booking. University event offices such as Arizona State’s publish vendor agreement forms for this reason.
2. Fewer bins, better labelled
One clearly labelled sorting station works better than ten scattered bins. Use pictures of the actual items being served (“plates, cutlery, food” in one bin, “bottles and cans” in another), and add a small bin for whatever is left.
- Place it where people finish eating, beside the seating or the exit from the food area, not behind a stall.
- Never leave a general waste bin standing alone. Guests use whichever bin is closest, so every bin should be part of a full station.
- Put a volunteer next to the station for the busy first hour. Once the first bags are sorted correctly, later guests copy what they see.
- Weigh or count the bags at the end. It gives you a real number to report and a starting point for the next event.
3. Order the right quantity
Over-ordering is waste too. Estimate guests, multiply by the number of food stalls each person is likely to visit, then add a small buffer. Our party supplies calculator does this sum for plates, forks, cups and napkins.
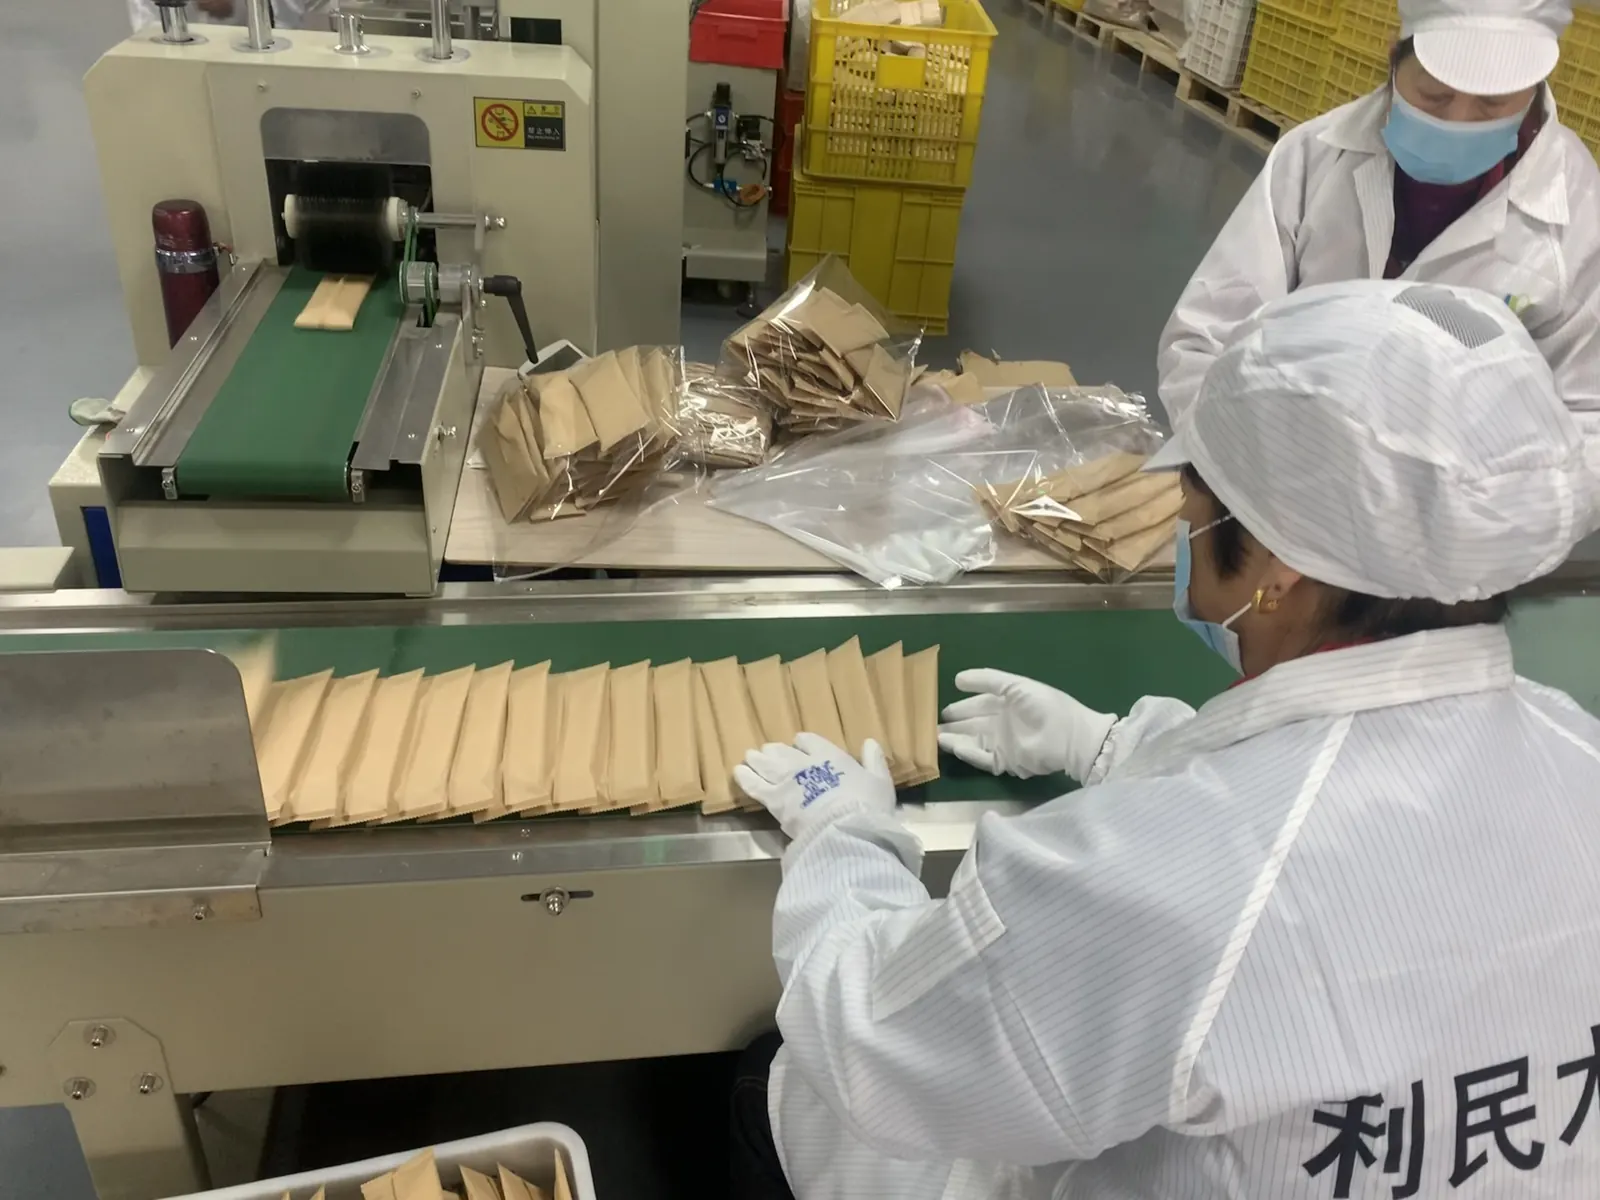
Leftover boxed wooden cutlery stores well for the next event. Keep the cartons sealed, off the floor and somewhere dry, because wood that stays damp can grow mold on wooden cutlery. Plan in the other direction for food: agree before the event where edible leftovers will be donated, so they don’t end up in the bins.
4. Make signage reusable
Paper posters are often thrown away the same day. Fabric flags and banners can be used again for years if you leave off dates and one-time slogans. For our own events we use flags printed by Senior Flags, designed with only our logo and name so they work at every show.
Event-specific details can go on things that don’t need reprinting: a chalkboard A-frame for the day’s menu, or a QR code linking to the programme. Store flags and banners dry and rolled, not folded, so they last for the next season.
5. Tell guests what you did
A small sign at the food area explaining which bin the plates and cutlery go in helps guests put things in the right place, and they notice the effort. Mention the zero-waste goal in the invitation or ticket email too, so people arrive expecting it.
After the event, share the result: how many bags went to each stream, and what you will change next time. Georgia Tech’s zero waste events guide includes ready-made email templates for both the invitation and the thank-you.
| When | What to do |
|---|---|
| 4–6 weeks before | Ask the waste collector which items they accept; send vendors the accepted-items list |
| 2–3 weeks before | Estimate quantities and order tableware; check signage and flags from the last event |
| 1 week before | Make bin signs with photos of the real items; brief volunteers; arrange food donation |
| On the day | One sorting station per eating area; volunteer at each station for the first hour |
| After | Weigh or count the bags; store leftover cutlery and flags dry; send the thank-you note |
Planning an event or stocking a food business? Request a quote for wooden tableware.